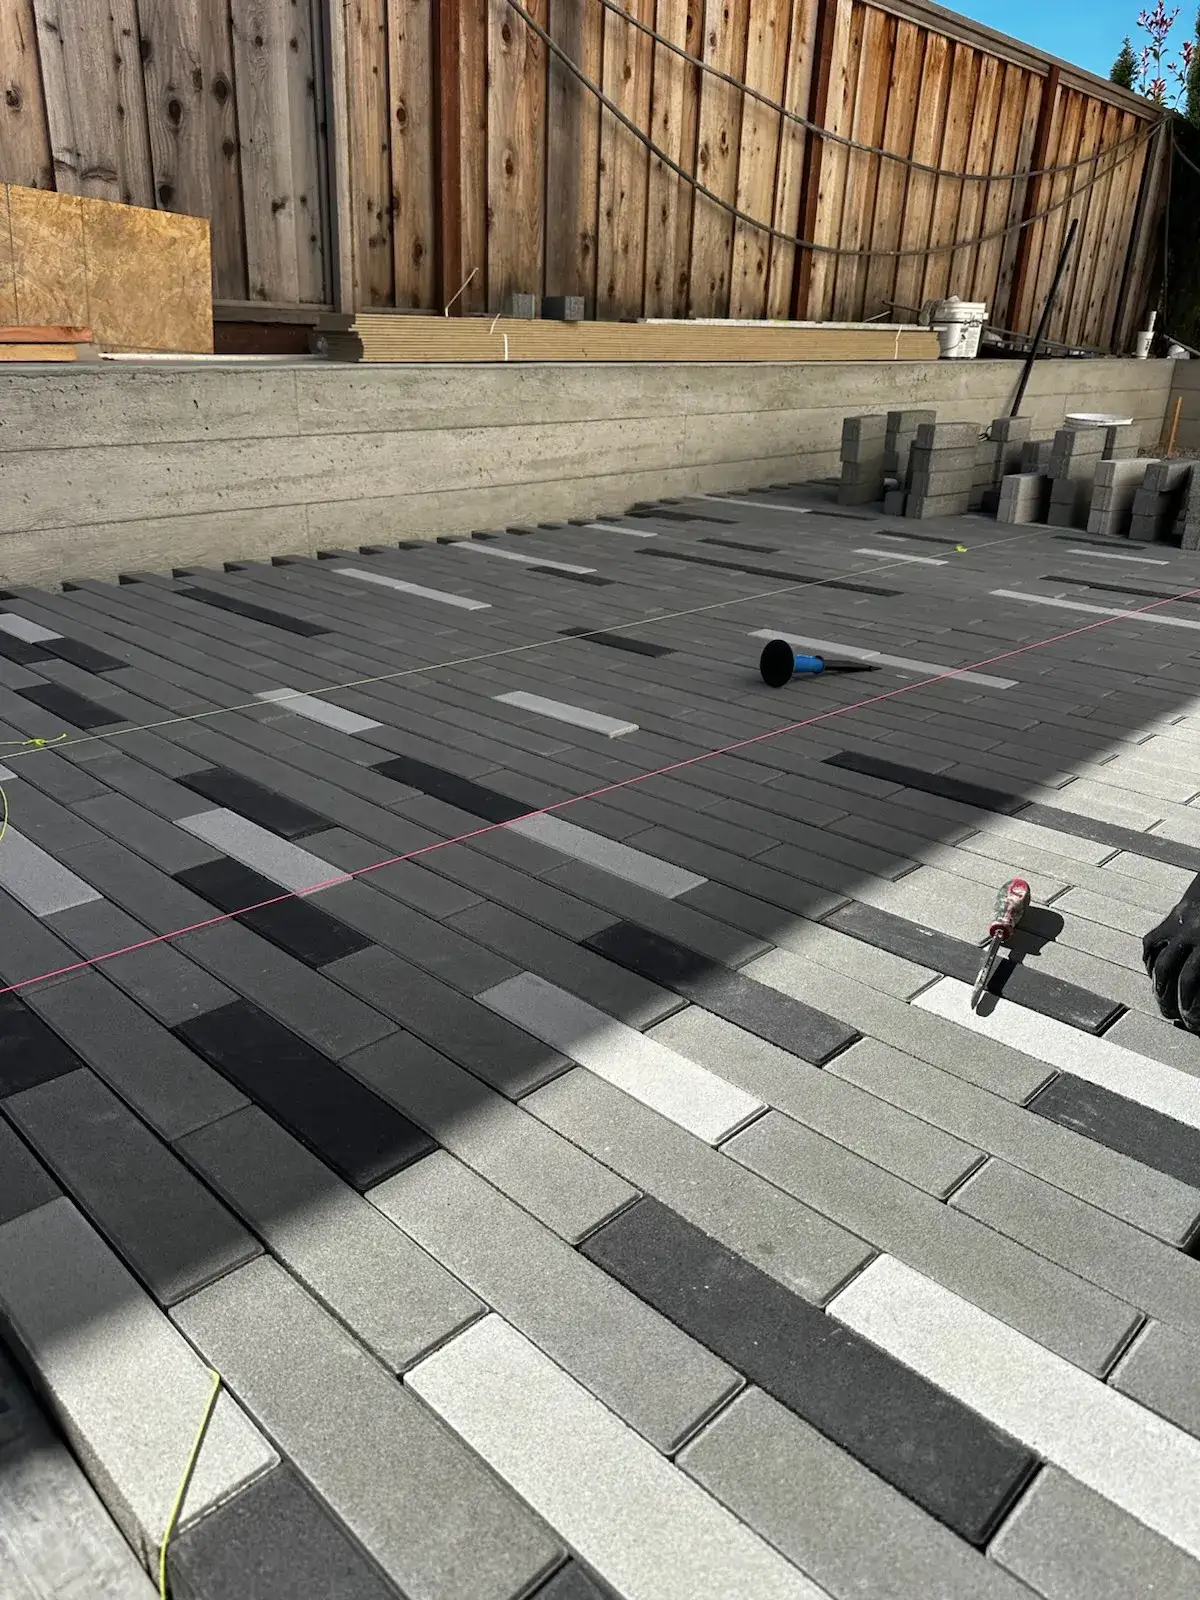
A San Jose paver patio costs about $15 to $30 per square foot installed. Material choice, base and drainage preparation, and access to the yard are the main price drivers. At Landscape Associates of CA, we are fully insured and provide a free on-site estimate, with the proposed work priced by project and itemized.
Paver patio cost in San Jose at a glance
- Our San Jose installed guide is about $15 to $30 per square foot.
- A 10 ft by 12 ft rectangle measures 10 x 12 = 120 sq ft.
- A 20 ft by 20 ft layout gives 20 x 20 = 400 sq ft.
- Most paver patios take 3 to 7 days to build.
- Questions about your paving receive a reply within 24 hours.
| Project | Size | Price range | Notes |
|---|---|---|---|
| Small patio | 10 ft x 12 ft | $1,800 to $3,600 | 10 x 12 = 120 sq ft; 120 x $15 = $1,800; 120 x $30 = $3,600. |
| Square patio | 20 ft x 20 ft | $6,000 to $12,000 | 20 x 20 = 400 sq ft; 400 x $15 = $6,000; 400 x $30 = $12,000. |
| Large patio | 30 ft x 25 ft | $11,250 to $22,500 | 30 x 25 = 750 sq ft; 750 x $15 = $11,250; 750 x $30 = $22,500. |
Measure only the planned paving, leaving lawn and planted beds outside the calculation. Each example describes a rectangle; a patio bending around the house needs separate measured areas. We then connect those shapes to doors, paths and furniture so the square footage describes a usable layout rather than spare space filled with pavers.
How paver patio pricing works
Installed square footage measures the finished surface viewed from above. We build beneath that outline as well as inside it: excavate, prepare the ground, compact the base, establish the bedding layer, lay units and restrain the edges. The visible paver is only the top part of that assembly.
Base preparation can take more work than placing the pavers themselves. Excavated material has to leave the yard, aggregate has to reach the work area, and compaction must produce stable support. Bedding sand provides the setting layer for an appropriate interlocking system. It does not repair a poorly prepared foundation underneath.
We finish compatible joints with the specified jointing material, such as polymeric sand, and use edge restraints to contain the pattern. Permeable assemblies use their own open joint and aggregate specifications instead. Mixing those details indiscriminately can undermine the purpose of choosing a surface that allows water through.
The installed comparison covers material, labor, preparation, edging and basic water management in principle. Demolition and haul-off, access work, permits and engineering are itemized in the estimate. Electrical or gas work for a combined outdoor kitchen stays separate from paving. A material purchase price leaves those construction tasks out of the comparison.
Cost by type
| Type | Best for | What changes the price | Relative cost |
|---|---|---|---|
| Interlocking concrete | Paths and everyday seating areas | Unit shape, border cuts and pattern | lower |
| Natural stone | Individual stone texture | Selection, thickness and fitting | higher |
| Travertine | A stone finish around outdoor living areas | Layout, edge details and preparation | higher |
| Porcelain | A consistent manufactured finish | Cutting and specified support system | higher |
| Permeable pavers | Water passing through designed joints | Open aggregate and water destination | mid |
Interlocking concrete pavers
Concrete units offer repeatable dimensions for running patterns, borders and curves. We compare Belgard, Techo-Bloc, Calstone and Basalite options against the same footprint. A straightforward pattern reduces fitting compared with a heavily cut perimeter. The lower relative category describes a design starting point, not a separate manufacturer price list.
Natural stone paving
Natural stone varies in appearance and can require more selection and fitting than uniform concrete units. We account for thickness and the specified setting method before laying out the surface. Matching a sample is only part of the decision; the assembly also needs to suit the ground and the intended use.
Travertine patio layouts
Travertine is a natural stone choice, with edge treatments and layout affecting how the finished space looks and fits. We plan transitions where the patio meets steps or doors. Its material label does not settle the foundation specification, so preparation remains visible when comparing travertine with interlocking concrete.
Porcelain paving systems
Porcelain requires the support and installation details specified for the chosen product. Cutting, handling and perimeter pieces influence the finished scope. We compare the complete assembly instead of substituting porcelain into a concrete paver plan without changing anything else. Consistent dimensions can simplify a pattern while edge cuts still require care.
Permeable joints and open aggregate
Permeable pavers let water pass through designed joints into an open aggregate assembly. The ground below and the destination of collected water still matter. Choosing a permeable unit alone does not make an ordinary sand bed a permeable system. We price the supporting layers along with the visible surface.
What moves the price
Patio size and usable shape
A broad rectangle and several small connected spaces can share the same area but have different perimeters. More edges mean more restraints and fitting. We lay out chairs, a table and walking routes before extending the footprint, keeping planted beds outside the installed square footage.
Pattern, borders and cut pieces
Curves and angled borders require cut units rather than only full pavers. A contrasting border adds another material and another line to set accurately. We can simplify the pattern while keeping the same prepared support, allowing appearance to change without stripping essential work from the proposal.
Removal of concrete or old paving
Replacing a slab involves breaking or lifting the existing surface and hauling the debris out. Old foundations or buried edges may affect excavation too. An open soil area avoids that particular removal task, so comparing the same square footage without identifying demolition can conceal a meaningful difference in labor.
Ground support and compacted aggregate
We prepare the subgrade before adding the compacted base. Soft spots and disturbed fill need attention while they remain exposed. A bedding layer can set the units accurately, but it cannot compensate for movement underneath. The support specification follows the use and site, not an arbitrary depth copied from another yard.
Drainage and finished elevations
Door thresholds, neighboring paths and lawn edges constrain the finished surface. We establish how water leaves before the paving closes the ground. A separate collection system belongs in the French drain budget; hiding that work until after installation makes the comparison incomplete.
Access, slopes and retaining edges
Aggregate deliveries, debris removal and cutting space all need a practical route through the yard. A slope may introduce a structural edge beyond ordinary paver restraint. We keep that construction in the retaining wall calculation rather than treating every raised boundary as a simple patio border.
Worked examples
For a 10 ft by 12 ft San Jose patio, first calculate 10 x 12 = 120 sq ft. Then multiply 120 x $15 = $1,800 and 120 x $30 = $3,600. For that small footprint, a simple pattern can keep cutting contained without changing the necessary foundation.
For a 20 ft by 20 ft patio, 20 x 20 = 400 sq ft. The installed planning range follows from 400 x $15 = $6,000 and 400 x $30 = $12,000. A border extension increases the measured area, while changing the pattern affects fitting within the same outline.
For a 30 ft by 25 ft patio, 30 x 25 = 750 sq ft. At the San Jose endpoints, 750 x $15 = $11,250 and 750 x $30 = $22,500. An attached outdoor kitchen or wall has separate construction beyond this horizontal surface.
What a set budget buys in patio area
At the San Jose guide rate of $15 to $30 per sq ft installed, $5,000 buys roughly 165 to 335 sq ft of patio, $15,000 roughly 500 to 1,000 sq ft, and $40,000 roughly 1,300 to 2,700 sq ft. Demolition of old concrete, hard access and a separate drainage correction come out of the same money, and lawn is priced on its own in the artificial turf cost guide.
Cost in Saratoga, Los Gatos, Los Altos, Monte Sereno, Monterey and Carmel
| City | Published range | The local rule that affects the job | Link |
|---|---|---|---|
| San Jose | About $15 to $30 per sq ft installed | Driveways and walkways not more than 30 in above adjacent grade are exempt from building permits only within the stated basement, story and ADA exclusions. Building requirements (checked October 2026) | San Jose |
| Saratoga | priced at the estimate | Geotechnical review covers new structures, additions and basements in hazard areas, not a blanket paving charge. Clearance scope (checked October 2026) | Saratoga |
| Los Gatos | priced at the estimate | Protected tree removal requires Town approval; tree roots can constrain a paving outline. Tree FAQ (checked October 2026) | Los Gatos |
| Los Altos | priced at the estimate | Protected trees include native species at 10 in diameter; removal needs approval. Tree handout (checked October 2026) | Los Altos |
| Monte Sereno | priced at the estimate | Walks and driveways not more than 30 in above grade, not over a basement or story, need no building permit. City FAQ (checked October 2026) | Monte Sereno |
| Monterey | priced at the estimate | For building permit projects, paving over more than one-third of a pine or oak feeder-root zone must be permeable. Protection guidelines (checked October 2026) | Monterey |
| Carmel | priced at the estimate | Public right-of-way paving, except driveways, requires encroachment approval. Street-edge policy (checked October 2026) | Carmel |
Saratoga and Los Gatos hillside patios receive individual prices because access, grade changes and adjoining structures differ. We keep the preparation and pattern visible in those proposals so a larger figure traces back to the work, not to the address.
Permits, rebates and water rules
San Jose driveway and walkway exemption
San Jose’s building-permit exemption covers driveways and walkways not more than 30 in above adjacent grade, provided they do not cross a basement or story below and are not an ADA route. That wording must stay attached to its named surfaces and exclusions. See San Jose building-permit requirements (checked October 2026).
Monterey pine and oak root zones
For projects needing a building permit, Monterey’s tree-protection guidelines require on-grade patios or paving covering more than one-third of a pine or oak feeder-root zone to be permeable. The permeable specification affects the supporting assembly as well as the finish. See Monterey tree-protection document (checked October 2026).
Saratoga hazard-area review
For a broader Saratoga project, geotechnical clearance applies to new structures, additions and basements in geologic hazard areas, with hillsides and creek-side land given as examples. The City page does not specifically address paving. For combined work, the City determines which proposed structures fall within that scope. See Saratoga geotechnical clearance guidance (checked October 2026).
San Jose street connections
A new, expanded or relocated driveway needs Public Works clearance or a permit. Curb, apron or sidewalk work needs a Transportation Department permit, while private-side resurfacing needs none. Those distinctions affect a connecting paved route; see San Jose Driveways and Sidewalks (checked October 2026).
How the project runs
Step 1: Measure paving and inspect transitions
At our free visit we measure the patio outline and look at doors, paths, lawn and existing slabs. The itemized proposal distinguishes new installation from removal. We also identify access for aggregate and paver deliveries, because moving materials is part of the build.
Step 2: Choose the layout and support system
David lays out the outdoor space with the homeowner or works from supplied designer plans. We align the chosen pattern with usable seating and circulation. Any engineering for associated structures is considered separately from selecting the unit color, and permeable paving gets a compatible assembly.
Step 3: Settle approvals for the named work
San Jose distinguishes private resurfacing from new driveway connections and curb work in its street connection requirements (checked October 2026). Ask us about the approval responsibilities for the proposed scope. A paving sketch should identify those connections before construction starts so the submission describes the intended work.
Step 4: Excavate, compact and lay the surface
We remove the existing material specified in the proposal, prepare the ground and compact the supporting aggregate. Bedding follows the selected system. Units are laid to the pattern, fitted around boundaries and held by edge restraints, with the correct joint material completing the assembly.
Step 5: Finish joints and clear the work area
We finish the perimeter and joints, remove construction debris and restore included disturbed areas. Drain inlets remain accessible instead of disappearing beneath cut pieces. The completed patio should connect to the agreed thresholds and neighboring surfaces, with furniture space matching the layout used to measure it.
Step 6: Review the finished patio and care
The walkthrough covers the pattern, perimeter, joints and water route. We review care for the selected surface and the written coverage applicable to the installation. Most San Jose paver patios take 3 to 7 days; a combined renovation includes additional construction beyond that paving sequence.
How to keep the cost down without a cheap job
- Lay out furniture before expanding the paved footprint into planting beds.
- Use a straightforward interlocking pattern to reduce border cutting.
- Compare concrete units and stone with the same excavation and drainage included.
- Keep the material route open until aggregate delivery and debris removal finish.
- Install buried collection pipes before closing the ground with pavers.
- Phase ornamental planting after the surface and its restraints are complete.
- Retain sound adjoining paving when the proposed levels and water route allow it.
Mistakes that make it cost more later
Using bedding sand to hide a weak base
Sand sets the surface but does not replace compacted support. If the foundation moves, resetting the visible units leaves the underlying problem in place. Preparing the subgrade while exposed is part of building the patio, even when the finished pattern hides all that work.
Choosing permeable units without the right layers
Open joints need a compatible aggregate assembly below them. Filling a permeable system with unsuitable bedding or joint material can obstruct its intended flow. We compare the whole section from surface to subgrade, including where collected water goes, rather than choosing on the appearance of the unit alone.
Paving over a drainage problem
A low spot remains a water collection point unless the design changes its route or elevation. Laying a new pattern over the same problem can force later lifting. Coordinate catch basins, channels or buried drains with the paved outline before finalizing the surface and perimeter.
Ignoring trees and street-edge approvals
Monterey root-zone protection can dictate a permeable specification for building permit projects under the City guidelines (checked October 2026). A layout chosen without that condition may need redesign. Tree protection belongs in the early drawing, where the footprint can still change without dismantling finished paving.
Confusing driveway loads with patio use
A driveway and a seating area place different demands on the supporting assembly. The patio guide does not publish a separate vehicle-use rate. We identify intended use before specifying the base, so a shared paver appearance does not conceal a different structural task.
What is in a Landscape Associates estimate
We itemize patio construction following the free site visit. Landscape Associates provides a lifetime warranty on pavers covering materials and workmanship. David Muhoberac founded the business in 1987, and we reply within 24 hours. The written proposal connects the measured footprint to the selected paving assembly.
- Area and layout, paver selection, pattern, cuts and borders.
- Ground preparation, compacted aggregate, bedding, restraints and joint material.
- Water routing and any separate drainage correction.
- Removal, disposal, access work and applicable engineering or approval costs.
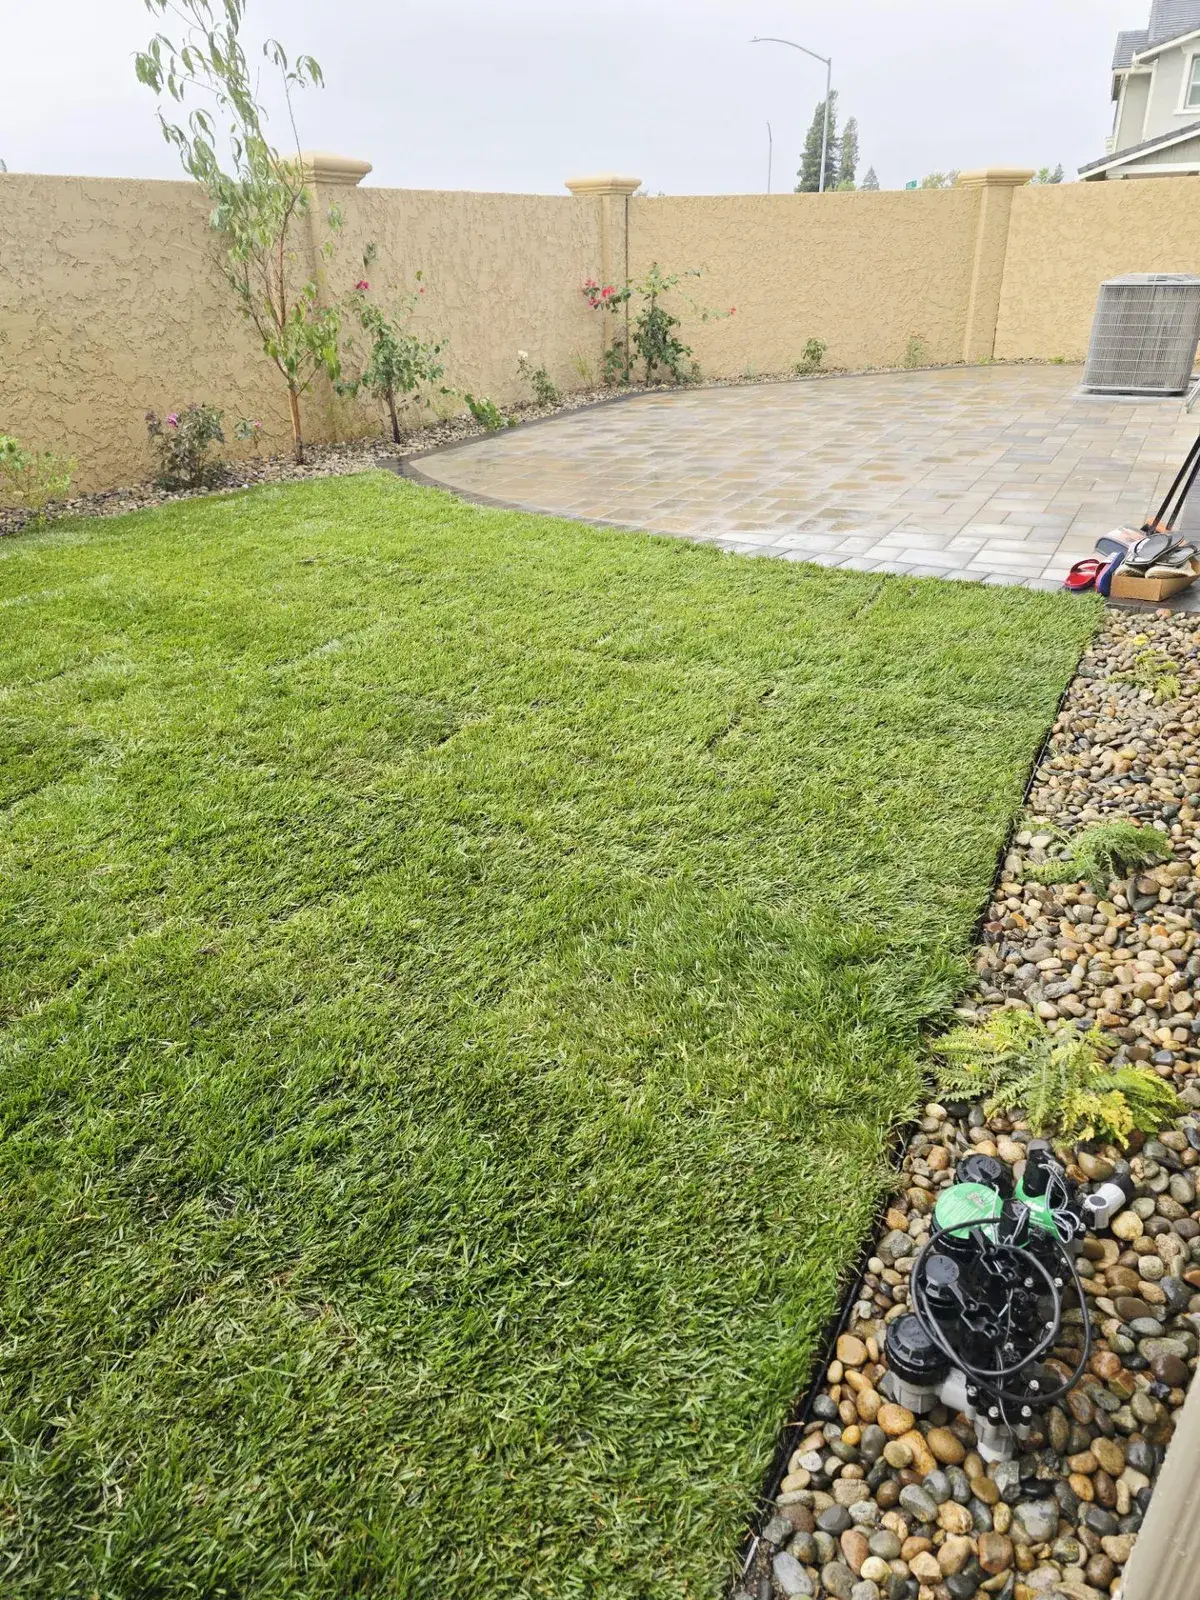
See our paver installation service for surface options, then compare the rest of the yard in the San Jose landscaping cost guide and Saratoga landscaping cost guide. Los Altos Hills, Carmel Valley and Pebble Beach are also within our service area.
Sources and how we price
- City of San Jose building permit requirements (checked October 2026)
- City of San Jose Driveways and Sidewalks (checked October 2026)
- Saratoga Geotechnical Clearance (checked October 2026)
- Los Gatos protected tree FAQ (checked October 2026)
- Los Altos tree removal process (checked October 2026)
- Monte Sereno Building FAQ (checked October 2026)
- Monterey Tree Protection Guidelines (checked October 2026)
- Carmel Right-of-Way Vision Statement (checked October 2026)
Our San Jose installed paver figures come from our own published guide; the broader Saratoga guide addresses whole landscaping projects. We refresh prices when the estimate book changes and price every job at a free on-site visit. The measured footprint starts the calculation, while the selected assembly and site establish the final amount.
Arrange a free on-site patio estimate by calling or texting (408) 207-5545. We reply within 24 hours, with the planned paving area and existing surfaces as the starting point.
Questions homeowners ask
How much is a 20×20 paver patio in San Jose?
A San Jose paver patio measuring 20 ft by 20 ft gives 20 x 20 = 400 sq ft. At the installed endpoints, 400 x $15 = $6,000 and 400 x $30 = $12,000. We keep lawn outside that area and identify removal, base preparation, edges and drainage in the written scope.
How much does a 10×12 paver patio cost?
A 10 ft by 12 ft San Jose paver patio measures 10 x 12 = 120 sq ft. The guide arithmetic is 120 x $15 = $1,800 and 120 x $30 = $3,600. A compact layout still needs prepared support, bedding and edge restraints, with existing concrete removal identified separately.
Are pavers cheaper than a concrete patio?
San Jose paver patio pricing is about $15 to $30 per sq ft installed, but our published figures do not provide a comparable concrete patio rate. We compare equivalent footprints, demolition and drainage to answer that question for a property. A concrete driveway figure would describe a different use and assembly.
What is the cheapest paver for a patio?
Interlocking concrete is a lower relative cost starting point for a San Jose paver patio. Simple layouts can reduce cutting compared with curves and intricate borders. We compare the complete installation rather than the unit alone, because compacted support, restraints and jointing remain necessary with an economical material selection.
Do permeable pavers cost more?
Permeable paving for a San Jose patio needs designed joints and an open aggregate assembly, so the comparison involves more than choosing a different unit. Ground conditions and the water destination influence the scope. We price the complete permeable system against the other options on the same footprint.
Do driveway pavers cost the same as patio pavers?
For San Jose pavers, the $15 to $30 per sq ft patio guide is the starting point for a driveway too. Vehicle use changes the demands on support and edges. We price the driveway assembly at the property rather than assuming the same appearance means identical construction beneath it.
Do I need a permit for pavers in San Jose?
San Jose exempts driveways and walkways not more than 30 in above adjacent grade from building permits when they do not cross a basement or story below and are not an ADA route. That exemption has a specific scope. For connecting paver paths, read the City building requirements (checked October 2026).
What does the lifetime paver warranty cover?
Our San Jose paver installations carry a lifetime warranty covering materials and workmanship. The written terms belong with the proposed assembly and care information. We review the selected surface, joints and edging during the walkthrough so maintenance follows that particular system, rather than assuming every stone or manufactured unit needs identical treatment.
How long does a paver patio take to install?
Our published construction window for most San Jose paver patios is 3 to 7 days. The construction sequence includes removal where specified, ground preparation, compacted aggregate, bedding, laying, cuts and joint finishing. Access and a complex layout affect the actual schedule. A larger yard renovation includes other work beyond the patio installation itself.
Should I seal a paver patio?
Sealing a San Jose paver patio depends on the selected material and its care instructions. A sealer can change the appearance, so sample the proposed treatment and follow the product guidance. We keep sealing separate from correcting joints or drainage; a surface coating does not repair an unstable foundation beneath the units.
How deep should the base be under pavers?
The base under a San Jose paver patio must suit the ground, selected assembly and intended use. We specify support after reviewing those conditions rather than publishing a universal depth. Compaction, bedding and edge restraint work together, and a vehicle surface needs its own assessment even if the chosen units match the patio.
Does a paver patio increase home resale value?
A San Jose paver patio can provide a defined outdoor seating area, but no resale amount is published for our installations. We help size the footprint around furniture, circulation and the construction budget. Choose a layout you can use and maintain instead of treating the installed cost as a prediction of a buyer offer.
Get in Touch
Call us, send the estimate form, or email us. We reply within 24 hours to book a free site visit. Call or text (408) 207-5545.
- (408) 207-5545
- david@landscapeassociatesca.com
- Mailing address: 125 Surf Way #443, Monterey, CA 93940
- Mon - Fri: 8:00-5:00 · Closed on weekends